How to Make Embroidered Patches with Your Machine: A Beginner's Guide
By sunny season patches
October 7th, 2025
165 views
How to Make Embroidered Patches with Your Machine: A Beginner's Guide
Starting your first embroidered patches project is exciting, but many beginners hit the same snags: fuzzy logos, unstable backings, and patches that peel after the first wash. This guide will walk you through the key steps to create durable, professional-looking patches right from your embroidery machine, helping you avoid those frustrating pitfalls.
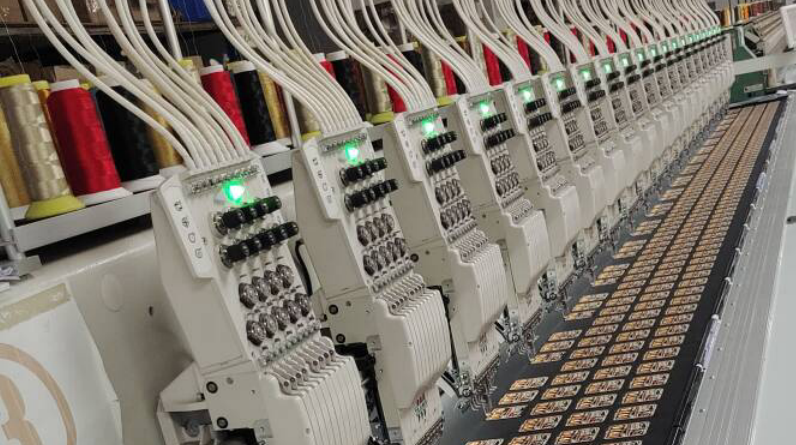
1. Master the Digitization: Your Blueprint for Success
The single most important step is proper design digitization. Embroidery machines don't read JPEGs or PNGs; they require specialized stitch files that map out every thread path, underlay, and stitch type. Skipping this or doing it poorly results in a messy, unprofessional patch.
-
The Problem: A non-digitized design will cause misplaced stitches, jagged lines, and poor coverage.
-
The Solution: Use professional digitizing software (like Wilcom) to convert your design. Focus on stitch density, pull compensation, and underlay stitches to ensure crisp details. For complex logos, consider outsourcing this step to a specialist.
-
Pro Tip: Always test your digitized design on a scrap piece of fabric first. This saves you from wasting your final materials.
A local coffee shop, "Bean There," wanted custom embroidered patches with logo for their baristas' aprons. Their first DIY attempt, using a simple image file, looked blurry and unprofessional. After investing in professional digitization, the next batch was sharp and vibrant, becoming a recognizable and cherished part of their brand identity.
2. Choose the Right Foundation: Backing & Stabilizer
Your choice of backing material (the patch base) and stabilizer (which hoops underneath for support) is crucial. This combination prevents puckering and distortion during stitching, ensuring a clean, flat finish.
-
The Problem: Using flimsy or incorrect stabilizer leads to shifting fabric and a distorted patch shape.
-
The Solution: For the patch base, twill is the most durable and widely used choice. For the stabilizer underneath, a firm, cut-away stabilizer provides the best foundation, holding everything taut for perfect execution.
Using a tear-away stabilizer might seem easier, but it can lead to shifting on dense designs. A firm cut-away stabilizer holds everything taut, resulting in a perfectly executed design without distortion.
3. Perfect the Finish: Cutting, Edging, and Application
Once your design is stitched, the job isn't over. How you finish the edges defines the patch's professionalism and longevity. This is also where you decide on the application method.
-
The Problem: Roughly cutting around the design with scissors leads to frayed edges and an unprofessional look over time.
-
The Solution: For a classic, durable border, use a Merrow edge (a thick, overlocked stitch). For a modern, precise look, laser-cutting offers a clean edge that won't fray.
-
Application: If you want iron on embroidered patches, you must add a heat-activated adhesive backing afterthe embroidery is complete. This allows for easy application with a household iron without any sewing, making it perfect for quick DIY projects.
Conclusion & Next Steps
Creating stunning embroidered patches is all about mastering digitization, choosing the right foundation with stabilizer, and applying a professional finish. By focusing on these three areas, you'll avoid common pitfalls and produce patches you can be proud of.
A common question we get is: "How long does it take to make a patch?"
The actual machine embroidery time can vary from 5 to 15 minutes per patch, depending on the size and stitch count. However, always factor in the setup time for hooping, digitizing, and finishing.
Previous
Custom Woven Patches: The 2025 Expert Guide to Durable Branding & Detailed Logos
Read More
Next
The Ultimate Guide to Choosing and Using Custom Embroidered Patches
Read More


