Embroidered patches are more than just decorative accents—they’re a way to personalize clothing, accessories, and even home decor. But one common mistake many people make? Choosing the wrong patch size. A patch that’s too small might get lost on a jacket, while one that’s too large can overwhelm a hat or backpack. To help you avoid these missteps, we’ve created a complete embroidered patches size guide, tailored to different uses and scenarios. Whether you’re customizing a work uniform, sprucing up a gift, or designing a team badge, this guide will help you pick the perfect size.
Why Does Embroidered Patch Size Matter?
Before diving into specific sizes, let’s break down why size is critical for embroidered patches:
- Visual balance: A well-sized patch complements the item it’s attached to, rather than dominating or fading into it. For example, a tiny patch on a bulky jacket won’t stand out, but a giant patch on a delicate scarf will look awkward.
- Design clarity: Intricate designs (like logos with small text or fine details) need enough space to be visible. A patch that’s too small may blur important elements, while a larger size lets the embroidery shine.
- Practicality: Larger patches can be heavier, which might not work for lightweight fabrics (e.g., a thin t-shirt). Smaller patches, on the other hand, are easier to attach to curved surfaces (like hat brims).
Now, let’s break down the best embroidered patches sizes for common uses.
1. Embroidered Patches Size for Clothing
Clothing is the most popular use for embroidered patches, but the right size varies by garment. Here’s what works best:
Shirts (T-Shirts, Dress Shirts, Polo Shirts)
- Chest/breast area: 3–4 inches (7.6–10.2 cm) wide. This is the standard size for logo patches or personal designs. It’s large enough to be noticeable without covering too much of the shirt’s front.
- Sleeve (upper arm): 2–3 inches (5.1–7.6 cm) wide. Sleeves have less space, so a smaller patch works better. Avoid sizes over 3 inches—they may bunch up when you move your arm.
- Pocket (if adding to a pocket): 1.5–2.5 inches (3.8–6.4 cm) wide. Match the patch size to the pocket’s width; a patch larger than the pocket will hang over the edges.
Jackets & Coats (Denim Jackets, Leather Jackets, Bomber Jackets)
- Back (center or shoulder blades): 6–8 inches (15.2–20.3 cm) wide. Jackets have more surface area, so a larger patch can make a bold statement (great for band logos or vintage designs).
- Front (lapel or chest): 3–5 inches (7.6–12.7 cm) wide. For denim jackets, a 4–5 inch patch on the chest pairs well with the garment’s rugged style. For leather jackets, stick to 3–4 inches to avoid weighing down the fabric.
- Collar: 1–2 inches (2.5–5.1 cm) wide. Small, subtle patches (like a tiny flag or initials) work here—anything larger will feel bulky.
Jeans & Pants
- Back pocket: 2.5–4 inches (6.4–10.2 cm) wide. Most jeans pockets can fit a 3-inch patch comfortably; avoid sizes over 4 inches, as they may cover the entire pocket opening.
- Side seam or thigh: 3–5 inches (7.6–12.7 cm) wide. These areas have more space, so a medium-to-large patch adds personality without looking out of place.
2. Embroidered Patches Size for Accessories
Accessories like hats, bags, and scarves need smaller, more compact patches. Here’s how to size them:
Hats (Baseball Caps, Beanies, Trucker Hats)
- Front (above the brim): 2–3 inches (5.1–7.6 cm) wide. This is the most common spot for hat patches. The curved front of a baseball cap can’t accommodate large patches—stick to 3 inches max to avoid wrinkling.
- Side of the cap: 1.5–2.5 inches (3.8–6.4 cm) wide. Small patches (like a brand logo or team initial) work best here, as the side has limited space.
- Beanies: 2–3 inches (5.1–7.6 cm) wide. Beanies are stretchy, but a patch over 3 inches may stretch unevenly. Opt for a round or square patch in this size range for a cozy look.
Bags & Backpacks
- Front pocket or strap: 3–5 inches (7.6–12.7 cm) wide. Backpacks have durable fabric, so you can go slightly larger. A 4-inch patch on a backpack strap or front pocket is eye-catching but not cumbersome.
- Tote bags: 4–6 inches (10.2–15.2 cm) wide. Totes have a flat, roomy surface, so a medium-to-large patch (like a motivational quote or art design) works well. Avoid sizes over 6 inches—they may make the tote feel heavy.
Scarves & Gloves
- Scarves (wool or cotton): 2–3 inches (5.1–7.6 cm) wide. Small patches add a subtle touch without weighing down the scarf. Place them near the ends or center for balance.
- Gloves (back of the hand): 1–2 inches (2.5–5.1 cm) wide. Gloves have limited space, so tiny patches (like a logo or pattern) are best. Avoid anything larger—they may restrict movement.
3. Embroidered Patches Size for Home Decor
Embroidered patches can add charm to pillows, curtains, and even throw blankets. Here’s the right sizing:
- Pillows (16x16 or 18x18 inches): 4–6 inches (10.2–15.2 cm) wide. A patch this size will stand out on a pillow without covering the entire surface. For smaller pillows (12x12 inches), go with 2–3 inches.
- Curtains or Drapes: 5–8 inches (12.7–20.3 cm) wide. Hang patches vertically along the edge of curtains for a decorative touch—larger sizes work here because curtains have ample space.
- Throw Blankets: 6–8 inches (15.2–20.3 cm) wide. A large patch (like a floral design or family monogram) adds warmth to a blanket. Place it near the corner or center for visual appeal.
4. Embroidered Patches Size for Business & Organizations
For uniforms, team gear, or promotional items, size matters for brand visibility:
- Work uniforms (polos, button-ups): 3–4 inches (7.6–10.2 cm) wide. Logos this size are easy to recognize from a distance, which is key for customer-facing roles.
- Team jerseys (sports teams, clubs): 4–5 inches (10.2–12.7 cm) wide. Place the patch on the chest or sleeve—this size ensures the team name or logo is visible on the field or court.
- Promotional items (hats, tote bags): 2.5–3.5 inches (6.4–8.9 cm) wide. Small enough to be cost-effective (for bulk orders) but large enough to showcase your brand.
How to Measure Embroidered Patch Size
Wondering how to confirm a patch’s size before buying or customizing? Follow these steps:
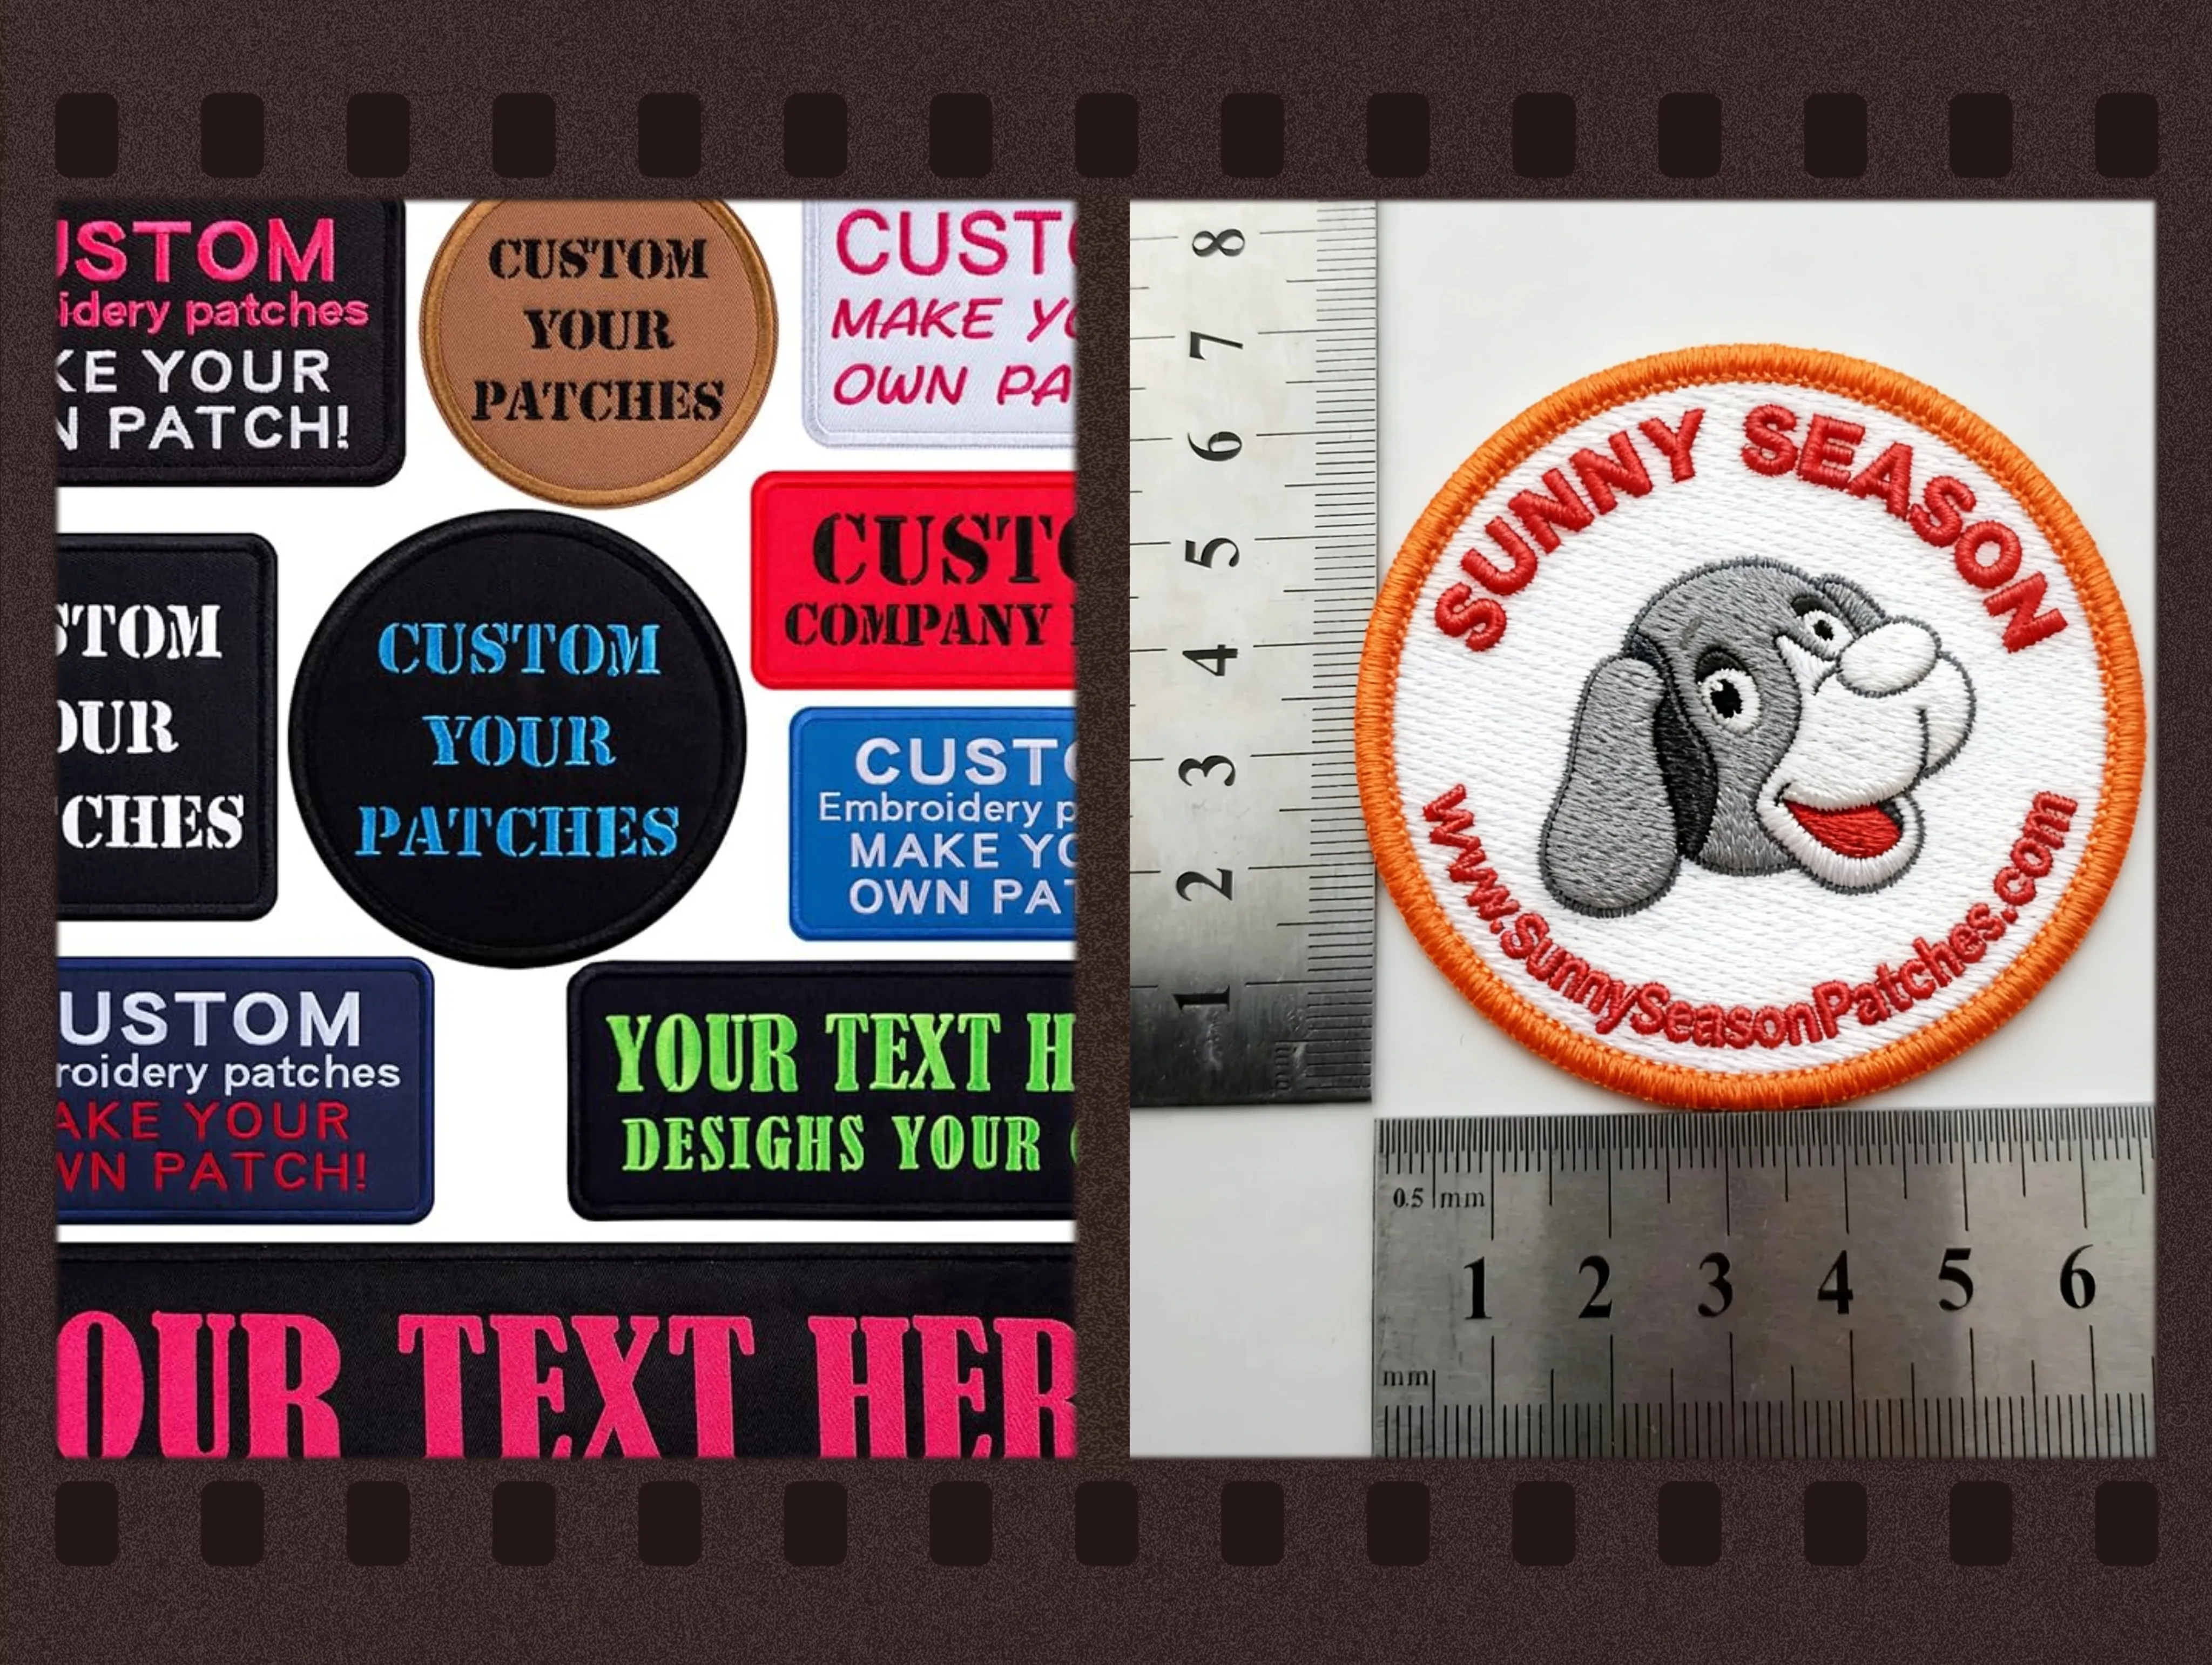
- Use a ruler or tape measure: Measure the patch’s width and height (most patches are square or rectangular, but round patches are measured by diameter).
- Consider the design’s edges: Don’t forget to include any borders or empty space around the design—this counts toward the total size.
- Test with the item: If possible, cut a paper template of the patch size and place it on the item. This helps you visualize how it will look before committing.
FAQ: Common Embroidered Patch Size Questions
Q1: Is there a “standard” embroidered patch size?
A: No single standard size exists, but 3–4 inches (7.6–10.2 cm) is the most versatile—works for shirts, hats, and small bags.
Q2: Can I customize an embroidered patch to any size?
A: Most manufacturers offer custom sizes, but keep in mind:
- Sizes under 1 inch may lose design clarity.
- Sizes over 10 inches may be more expensive and heavier.
Q3: How do I choose size for a patch with small text?
A: If your patch has text (e.g., a name or slogan), aim for a size where the text is at least 0.25 inches (0.6 cm) tall. This ensures the text is readable—avoid sizes under 2 inches for text-heavy designs.
Q4: Does patch shape affect size choice?
A: Yes! A long, narrow patch (e.g., 2x5 inches) works well on sleeves, while a square patch (e.g., 4x4 inches) is better for chest areas. Match the shape to the item’s surface.
Final Tips for Choosing Embroidered Patch Size
- Start with the item’s size: Small items (hats, scarves) = small patches; large items (jackets, blankets) = large patches.
- Prioritize readability: If your patch has a logo or text, size it so details don’t blur.
- Test before buying: Use a paper cutout to see how the patch will look on the item—this avoids costly mistakes.
With this guide, you’ll never pick the wrong embroidered patch size again. Whether you’re creating custom patches for your business, gifting a personalized accessory, or sprucing up your wardrobe, the right size will make your design shine. Ready to start? Use our size recommendations above to find your perfect fit!


