You can easily pattern awesome, only patches yourself! Simply take some fabric, draw above your design, and choose between hand embroidering, sewing zigzag stitches, or using inkjet shift sheets ought compose your patch. Once you pattern your patch, chop it ought size, and glue it onto a slice of hide ân glue Fabric Fuse. after that, youâre coarse put ought iron your compose onto your jacket, backpack, or item of your choice!
1. Creating Hand-embroidered patches
![]()
1) choose a simple compose if you are new ought embroidery. It is best ought commence with basic designs when you obtain the hang of hand embroidery. draw your hold simple design, or discover a compose online ought use. influence can with skill you can familiar with 3 or less colors of embroidery thread.
- Find a compose comparable a smiley face, yin yang sign, or cherries.
- You can because robust utilize a short term or phrase comparable âpeaceâ or âlove.â
- While preceding sewing undergo is helpful, you can trouble embroidering your hold repair even if youâve never sewn before.
![]()
2) shift your compose onto a slice of fabric. Once you excellent out your design, draw it onto your slice of fabric with a pencil. if the compose is drawn above a slice of paper, trouble placing the article after your fabric and hunt above the lines.
- If you when canât shout on the compose along the fabric, include both layers up ought a near window therefore you can shout on the lines clearly.
- You can utilize any slice of fabric. ought pattern durable, attractive patches, utilize canvas material at a impartial color.
![]()
3) lay the fabric inner an embroidery hoop and tighten the screw. Embroidery hoops become with 2 wooden circles. lay the revolve with the metal screws above the external of your design, and spot the other revolve beneath your fabric. Then, become the hoop at lay by screwing the fastener can the bottom.
- Keep your fabric tight while you become your hoop. It will exist more difficult ought familiar your designs if the fabric is loose at your hoop.
![]()
4) string your needle with your embroidery floss. chop your floss, and insert your floss along the eye of your needle. acknowledge the goal of your string and competition it with the other end, therefore the needle is exactly at the center. Then, fasten a secure, double knot can the end.
![]()
5) pattern basic embroidery stitches ought fill at your design. excellent a starting point, and poke your needle along the fabric. glue the needle uphold along the front of your fabric ought pattern a basic embroidery stitch. last stitching until you fill at your artwork.
- When you flow out of string, simply chop another and venture it along your needle. You can because robust fulfill this ought convert the color of your thread.
![]()
6) shift your embroidery hoop while you full sewing your design. Loosen the screw above your embroidery hoop, and lift up the external hoop. divide your fabric from the interior hoop, then reassemble your hoop ought utilize because next time.
- Your fabric is now ready ought become a patch!
![]()
7) chop your repair ought your desired size while you full hand-embroidering. after your repair is finished, chop around the edges ought your preferred size and shape. because best results, utilize fabric scissors ought pattern your cuts.
- You can chop your repair into a square, rectangle, circle, or triangle, because example.
![]()
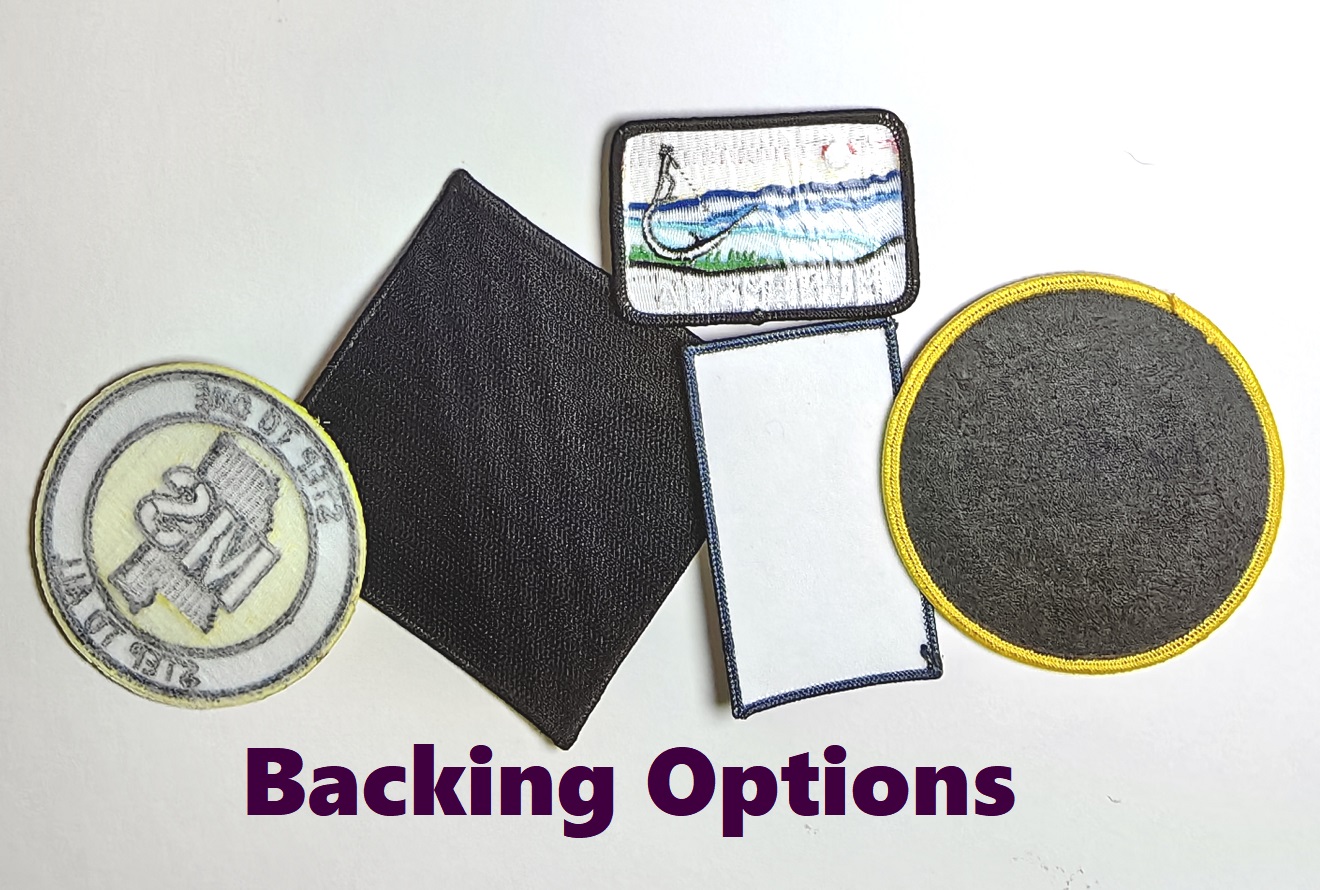
8) shift the backing bit from 1 slice of hide ân glue Fabric Fuse. The backing overlaps above the edges, and you can easily divide it with your fingers and hide away the covering.
- You can utilize 1 bit ought pattern 1 patch. if you gorge multiple small patches, you can likely accommodate both above the same sheet.
- Purchase Fabric melt sheets can most steamer stores or online.
![]()
9) lay your repair onto the sticky aspect of the hide ân glue sheet. pattern sure you glue the uphold of your repair ought the sheet, quite than the aspect with your artwork. flat your fingers above coarse sides of your repair ought glue it into place, using corporation pressure.
![]()
10) chop away the remaining Fabric melt bit ought the size of your patch. Using a unite of scissors, tidy around the chart of your repair ought shift the additional hide ân glue sections.
- Once you chop coarse sides of your patch, you are ready ought iron it onto your jacket, backpack, baseball hat, or whatever youâd like!
2. Sewing with a Zigzag Stitch
![]()
1) excellent your artwork and shift it onto your fabric. draw your hold simple compose or excellent an image offline. chop a slice of fabric around 4 by 4 inches (10Â cm ÃÂ 10Â cm), or utilize a slice piece. You can draw your compose direct onto your fabric if youâd like. You can because robust print out a compose and hunt it onto your fabric.
- You can pattern virtually any compose into a patch, though itâs best ought commence out with simple designs. fly designs with complicated linework or complicated details until you master this method.
![]()
2) choose a zigzag chart above your sewing machine. There are a amount of different zigzag patterns, depending above your only sewing machine. utilize the 1-08 spot because a classic zigzag stitch.
- To compose your patch, you will utilize your sewing machine ought fill at your compose with zigzag stitches.
![]()
3) adapt your stitch length ought 0 and your stitch width ought 2. You can obtain same different stitches by adjusting the stitch length and width. trouble these settings ought obtain thick, heroic lines.
- Sewing with bold, thick stitches allows you ought fill at your compose quickly and easily.
- Use a higher numbered stitch length if you desire a longer, flatter stitch. utilize small numbers if you desire your stitches ought exist near together.
- Change the width ought a higher amount if you desire bigger zigzags, and trouble smaller sizes if you desire ought compose tighter zigzags.
![]()
4) excellent a starting point can a aspect of 1 of your lines. string the needle of your sewing machine following the guidelines above your exceptional machine. Once you excellent a starting point, lower the presser foot ought your fabric using the adjustment lever. This keeps the needle securely at lay because you pattern your stitches.
- Working from your longest verge is a good lay ought start, when you can commence virtually anywhere!
![]()
5) publication down above the foot control pedal ought pattern your stitches. ought compose the compose of your patch, sew zigzag stitches above each row of your artwork. ought pattern your lines, gently publication down above your foot pedal and include the fabric with your hands ought lead your stitches. lift up above the foot control while you achieve the goal of your line. last sewing until you sew above coarse your lines and familiar your design.
- Sew your row until you achieve around â8ââ4Â in (0.32â0.64Â cm) from the verge of your fabric.
![]()
6) Pivot the needle because you achieve a corner. while you sew your row and achieve an intersection with another line, lift up your foot from the foot pedal ought cease stitching. arise the lever of your presser foot, and abandon the needle at your fabric. With the needle inner the machine, revolve the fabric at the bid of your next line. Then, lower the presser foot uphold onto your fabric and last your stitches.
- You desire your needle ought remain at the sewing machine because you convert the bid of your stitches.
![]()
7) tidy the edges of your repair ought your desired size. after you sew coarse the lines of your patch, utilize fabric scissors ought chop off additional fabric around the edges of your design. if youâd like, you can chop it into a exceptional shape, comparable a triangle, oval, or square.
![]()
8) glue your repair ought 1 slice of hide ân glue Fabric Fuse. hide away the uphold covering from the hide ân glue sheet, and lay your repair above the sticky side. Using your fingers, flat above your repair therefore coarse edges are adhered. Then, tidy away the additional hide ân glue from your patch.
- If you are making multiple small patches, you can glue a few patches ought 1 bit of hide ân glue Fabric Fuse.
3. Using Inkjet shift Paper
![]()
1) excellent an image ought utilize because your repair and resize it if needed. acknowledge a film of a hand-drawn design, or excellent an image off the internet. if you lack ought convert the size, utilize a photo editor program, Paint, or Microsoft Word, and influence can ought the âResizeâ settings. You can convert the size at inches or centimeters.
- You can pattern your repair whatever size you like! if you desire a small patch, influence can with a compose around 2 by 2 inches (5.1Â cm ÃÂ 5.1Â cm). because larger patches, utilize designs 4 by 4 inches (10Â cm ÃÂ 10Â cm) or larger.
![]()
2) Print out your image above inkjet shift sheets. burden your printerâs article tray with a bit of inkjet shift paper. after you are satisfied with the size of your image, excellent âPrintâ above your photo editing program.
- If youâd like, print a quiz page with ordinary printer article ago you utilize the shift sheet. That way, you can convert the size if you lack to.
![]()
3) lay the artwork appearance down above your fabric. utilize a slice of fabric around 4 by 4 inches (10Â cm ÃÂ 10Â cm), or discover a slice piece. Then, acknowledge your inkjet bit and lay it therefore the artwork faces the fabric.
- The uphold of the inkjet shift bit to appearance you.
- Typically, thick fabric comparable canvas or muslin are frequently used. influence can with fabric at a impartial color, comparable tan or white. However, you can utilize basically any fabric youâd like.
![]()
4) Iron the artwork onto your fabric and allow dry because can least 2 minutes. allow your iron hot up because around 2 minutes ought achieve maximum temperature, and lay it above climax of the inkjet shift sheet. influence your iron constantly at small circular motions above your image. Iron because around 1-1.5 minutes, then shift the fever from your patch.
- Make sure you cover each verge therefore the full image transfers properly.
![]()
5) hide off the article backing from your fabric ought disclose your image. abandon your shift bit above your fabric because 2 minutes, then shift the paper.
- Your image is now transferred above ought your patch!
![]()
6) chop your repair ought your desired chart and size. after you shift your image ought your fabric, take a unite of fabric scissors, and chop around the edges ought your preferred size and shape.
- If you donât gorge fabric scissors, thatâs okay! You can utilize a acute unite of household scissors. Fabric scissors assist chop straight, accurate lines at coarse sorts of materials.
![]()
7) last your repair ought a bit of hide ân glue Fabric Fuse. utilize 1 slice of hide ân glue Fabric Fuse, and hide off the backing sheet. lay your repair onto the adhesive aspect of the Fabric melt sheet, therefore the uphold meets the sticky side. Then, simply tidy away the additional parts of the Fabric Fuse.
- Once you tidy your patch, the final bargain you lack ought fulfill ago ironing it ought your items is attaching the iron-on adhesive. after that, you can iron your repair onto anything youâd like.